Assessing the Current Condition
Before you embark on any tile replacement project, it's crucial to assess the current condition of your bathroom. Start by examining the visible signs of damage. You may notice cracked tiles, missing grout, or discoloration that indicates wear and tear. These signs can affect not only the aesthetic but also the functionality of your bathroom. If tiles appear loose or hollow when tapped, this may call for immediate replacement. Understanding these indicators can help you determine the right course of action.
In addition to visual inspections, it's equally important to check for mold or mildew growth. Bathrooms, especially, are prone to moisture, which makes them vulnerable to such issues. Gently remove any loose tiles to inspect the underlying layers. If you see dark patches or smell a musty odor, mold may be present. Addressing mold is not just a cosmetic issue; it can also pose serious health risks. Finally, don’t overlook the subfloor condition. A damaged subfloor can compromise the integrity of your new tiles, so examine it thoroughly before proceeding.
Selecting the Right Tile Material
Once you've assessed the current condition of your bathroom, the next step involves selecting the right tile material. There are several options, but understanding their unique properties is key. Ceramic tiles are popular for their versatility and affordability. They come in a wide range of colors and designs, making them suitable for various aesthetics. Ceramic is also resistant to water, but it can chip or crack more easily than other materials. If you're looking for something that can withstand heavy foot traffic and moisture, ceramic might be the ideal choice.
On the other hand, porcelain tiles are denser and offer increased durability. They are less porous than ceramic, making them even better suited for wet environments like bathrooms. Although they might be more expensive, their longevity and range of colors make them a worthy investment. Natural stone tiles, such as granite or slate, impart a luxurious feel to any bathroom. However, they require regular sealing and care. Lastly, glass tiles serve as an excellent alternative for accent areas. Their reflective surfaces can create an illusion of space and brighten up the room.
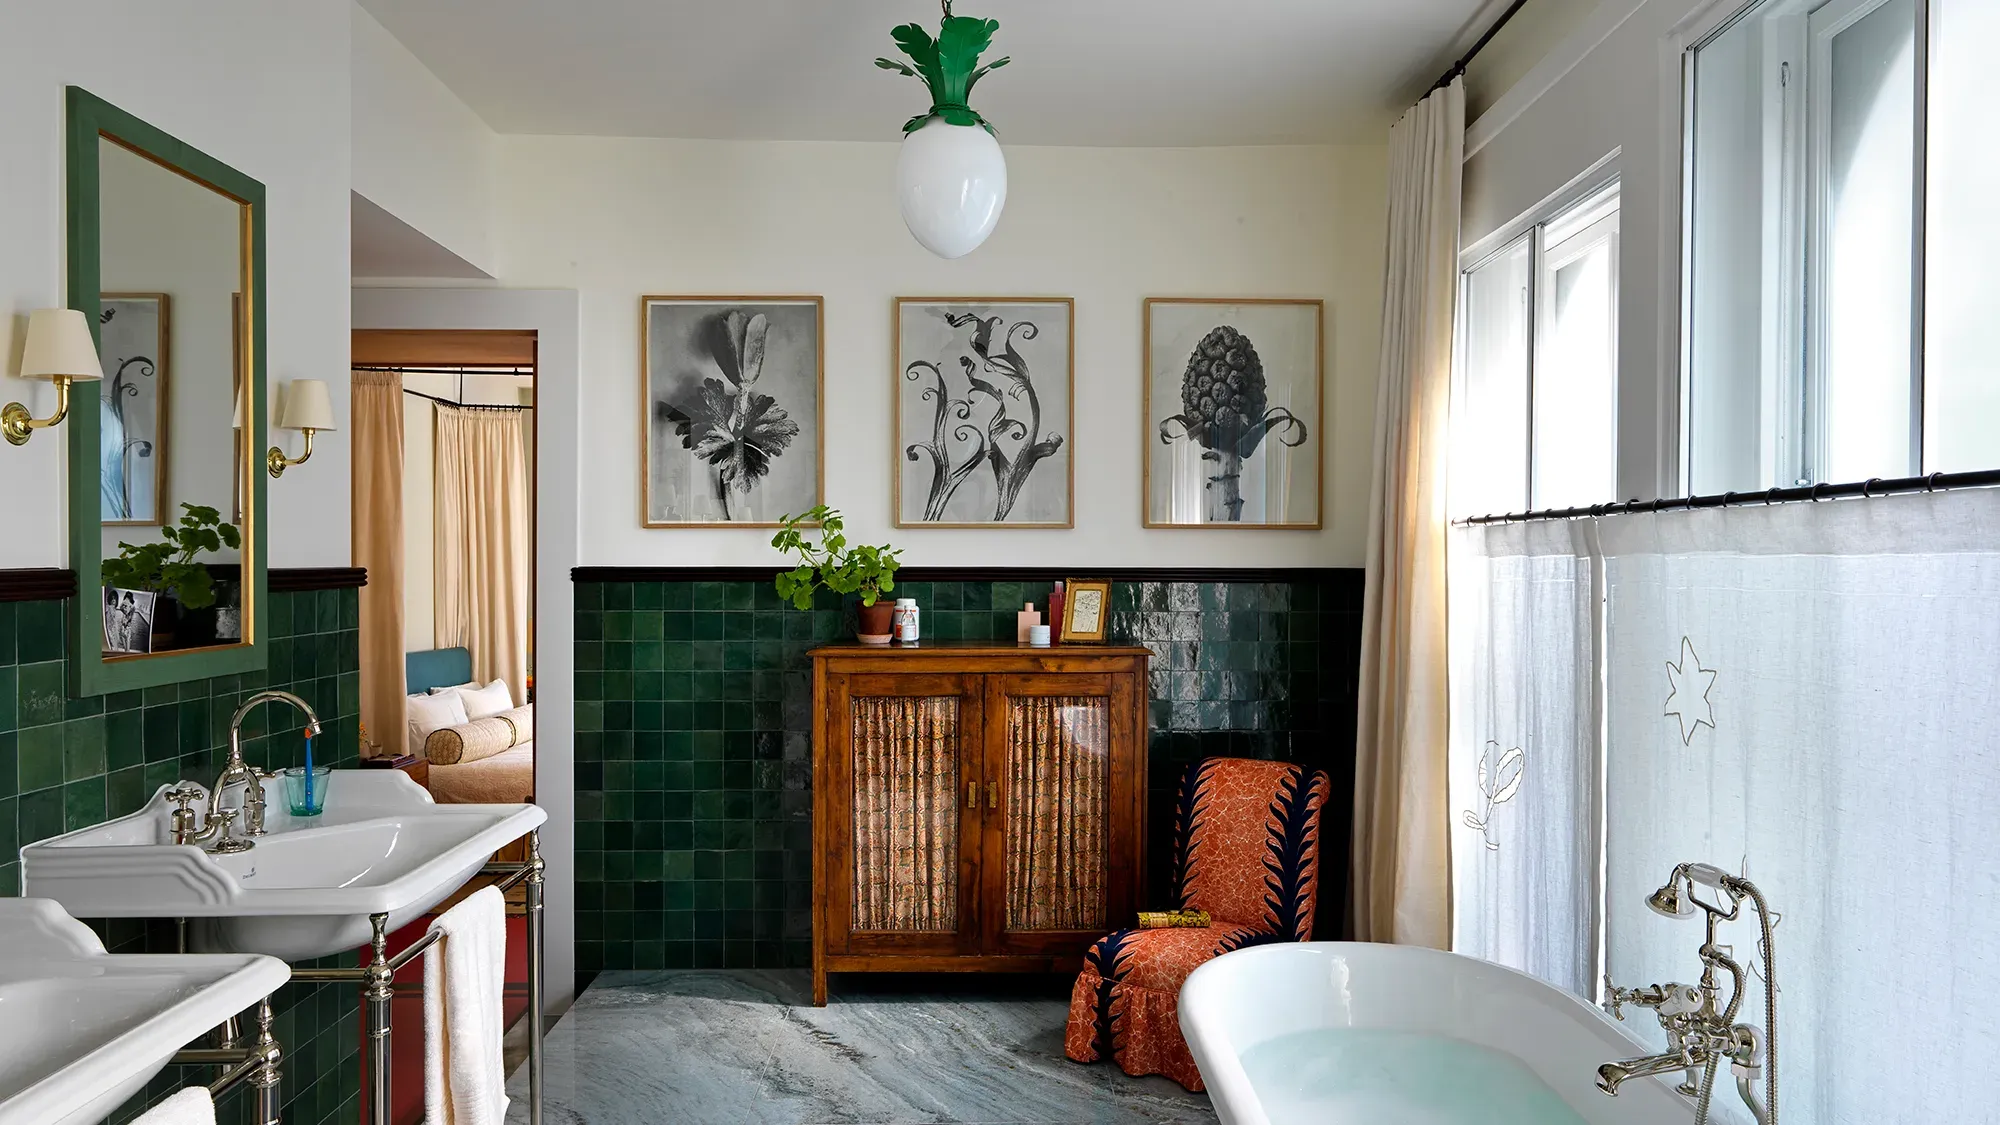
Design and Aesthetic Choices
Design plays an essential role in transforming your bathroom aesthetics. Color schemes can dramatically influence the feel of your space. Light colors can create an airy, open atmosphere, while darker shades add depth and elegance. Consider how the color of your tiles will harmonize with other elements in the room, like cabinetry and fixtures. You could also explore contrasting colors for a more eclectic feel. Choosing a cohesive color palette is critical for achieving a well-designed bathroom.
Additionally, tile patterns and layouts should not be overlooked. Whether you prefer a straight lay, diagonal layout, or even herringbone pattern, the arrangement can affect the visual perception of the space. Mixing different shapes and sizes can add dimension and interest. Don't forget about the use of accent tiles and borders to create focal points. Accent tiles can be used as a backsplash or within shower niches to introduce a splash of color or texture. Such details can elevate the overall design and make your bathroom truly unique.
Budgeting and Cost Considerations
When replacing bathroom tiles, budgeting effectively is crucial. Begin by estimating the material costs. The type of tile you choose will significantly impact the overall price. Ceramic tiles are typically less expensive, while natural stone can be quite costly. Create a list of potential materials along with their prices to get a clear sense of how much you need to spend. Keep in mind that the size of your bathroom will also determine your tile requirement, influencing material costs.
Labor costs can add up as well. If you opt for professional installation, be prepared for fees that can range widely depending on your location and the complexity of the job. It’s wise to get multiple quotes before deciding. Additionally, unexpected expenses often arise during renovations. Hidden damages, like mold or plumbing issues, might surface once you remove old tiles. Allocating a contingency budget of 10% to 20% for unexpected costs can save you from financial strain.
Preparation and Planning
Successful tile replacement begins with detailed preparation and planning. Start by measuring the area accurately to determine how much tile you will need. Measuring involves not just the length and width but also accounting for any irregular shapes. A meticulous approach ensures you buy just the right amount, minimizing waste. After gathering your materials, focus on removing your old tiles carefully to avoid damaging the subfloor, which could lead to additional hassles.
Post tile removal, you should take the time to prepare the subfloor properly. This could involve leveling any uneven areas or conducting repairs if necessary. Using a floor leveler can create a solid base for new tiles, ensuring they sit evenly and securely. Skipping this step can lead to tile cracking or shifting over time. Finally, make a comprehensive plan for your installation. Outline precise steps, from layout to grouting, and stick to your schedule as closely as possible for a smoother process.
Tools and Materials Needed
Having the right tools and materials is essential for your tile replacement project. Start with essential tools like a tile cutter, trowel, and rubber float. A tile cutter will help you create precise cuts, while a trowel is necessary for spreading adhesive evenly. You might also need spacers to maintain uniform gaps between tiles. Additionally, investing in a level will ensure that your tiles lay evenly, preventing any alignment issues down the road.
Apart from tools, consider the adhesives and grout that you will use. Thin-set mortar is commonly used for adhering tiles, while grout fills gaps and adds a finished look. Choose grout that’s formulated for wet areas to prevent mold growth. Don't forget about safety gear as well. Goggles and masks are important to protect yourself from debris and dust during removal and installation. Proper preparations will put you on the path to a successful tile replacement experience.
Installation Process
The installation process for new bathroom tiles involves several key steps that must be followed methodically. Start by laying out your tiles without adhesive to get a sense of spacing and design. This dry layout allows you to make adjustments before committing. Once satisfied with the arrangement, mark the starting point for your tiles. It's often best to start from the center or a focal wall to ensure symmetry.
After laying out your tiles, it’s time for cutting and fitting tiles to ensure all edges fit neatly against walls or corners. A tile cutter will come in handy for this task. Once all tiles are trimmed to size, apply the adhesive and begin setting the tiles into place. Be sure to press them down firmly and use spacers for even gaps. Once the tiles are laid, the next step involves grouting and sealing. Thoroughly fill the joints with grout, wipe any excess off the tiles, and allow it to dry. Finally, applying a sealant after the grout cures will help enhance water resistance and maintain the appearance of your new tiles.
Dealing with Common Challenges
Regardless of how well you prepare, you may encounter some common challenges during the tile replacement process. One issue you might face is uneven surfaces. If your bathroom floor isn't level, this can cause tiles to sit improperly. To address this, consider using a self-leveling compound before laying tiles. This ensures a supportive base that will lessen the chance of cracking.
Tile alignment issues can also arise. Achieving perfectly straight lines is crucial for a professional finish. You can use a chalk line or level to check that your rows are in line as you work. Lastly, grout discoloration can be a frustrating problem. Ensure you choose high-quality grout that is resistant to moisture. Regularly cleaning your grout lines and sealing them can help maintain their appearance. Addressing these challenges as they arise will result in a beautiful tiled bathroom.
Post Installation Care
Once the tile installation is complete, it’s important to focus on post-installation care. Begin by cleaning your new tiles gently to remove any dust or debris left over from the installation. Use a soft mop and a mild, pH-balanced cleaner. Avoid harsh chemicals that can damage the tile's surface. Regular cleaning will keep them looking fresh and vibrant, enhancing the overall appearance of your bathroom.
If chips or cracks do occur, knowing how to repair them is essential. Many repair kits are available that can fill in chips, making them less noticeable. For more extensive damage, you may need to replace the affected tile entirely. Long-term upkeep involves periodic sealing of both tiles and grout lines. Regular maintenance protects against stains and prolongs the life of your flooring. Implementing these practices will ensure your tiles remain a beautiful feature of your bathroom for years to come.
Professional Help vs. DIY
Finally, as you approach your project’s conclusion, consider whether to tackle it yourself or seek professional help. Assess your skill level honestly. If you have experience with home improvement projects, a DIY approach may be feasible. However, if you are unsure or lacking in tools, hiring a professional may save you time and stress.
Hiring a contractor comes with its pros and cons. On the positive side, professionals bring experience, which can lead to better quality and faster results. They can often spot and address issues you might overlook. However, hiring someone also means additional costs, which may stretch your budget. Ultimately, weigh the time and effort you can invest vs. the benefits of professional services. This decision will guide your project's success and your satisfaction with the completed work.
Are you looking for professional services? Find more details here:
bathroom repairs st. kilda